
As you might have noticed, I'm a biggest fan of re-cycling clothes. Most of my wardrobe includes such kind of stuff, what I am proud of :-) Whenever I get bored of my old dresses or tees, I think of their new refashion. It's a really pleasant feeling (and satisfactional as well), when you may easily turn any fabric into whatever you wish. There are barely no limits while imagination works. Mine worked just a litlle bit and turned men's blouse into child's pocket pants.
* * *
Jak zauważyliście, jestem wielką fanką odnawiania ubrań. Większość rzeczy w mojej garderobie pochodzi z odzysku, z czego jestem niezmiernie dumna :-) Kiedy tylko znudzą mi się stare sukienki czy koszulki, już myślę o ich przerobieniu. To naprawdę miłe uczucie (i satysfakcjonujące), kiedy mogę w bardzo prosty sposób zmienić dowolny materiał w co tylko zechcę. Jedynym ograniczeniem jest tu wyobraźnia. Ja uruchomiłam ją na tyle, aby przekształcić męską bluzę w dziecięce spodnie z kieszeniami.
 |
| helencraftystall.blogspot.com |
I used blouse sleeves to make legs, a rhomb blocked stripe from the back of blouse to add pockets and egsisting band to create a waistband. For me, it's a quick way to re-use components from an old outfit to make a new one. Go lower to see my tutorial.
* * *
Użyłam rękawów do uszycia nogawek, wycięłam pasek w romby na kieszenie i użyłam istniejący już ściągacz jako pasek do spodni. Jak dla mnie, to najprostszy sposób, by wyczarować coś nowego ze starych kawałków ubrań. Zajrzyj niżej, żeby podejrzeć mój tutorial.
Step 1.
Put both sleeves of blouse together. Grab any pair of pants fitting your little gal and use it as a cut-out to pocket pants.
* * *Put both sleeves of blouse together. Grab any pair of pants fitting your little gal and use it as a cut-out to pocket pants.
Złóż oba rękawy razem. Użyj dowolnych spodenek w rozmiarze Twojej pociechy jako wykrój.
 |
| helencraftystall.blogspot.com |
Step 2.
Draw and cut the pattern out. And now you've got two legs.
* * *
Narysuj i wytnij wykrój. Teraz masz już dwie nogawki.
 |
| helencraftystall.blogspot.com |
Step 3.
Both legs pin right sides together in the place of seam. And sew together.
* * *Both legs pin right sides together in the place of seam. And sew together.
Obie nogawki ułóż prawymi stronami do siebie i upnij szpilki w miejscu przyszłego szwu.
Zszyj je razem.
Zszyj je razem.
 |
| helencraftystall.blogspot.com |
 |
| helencraftystall.blogspot.com |
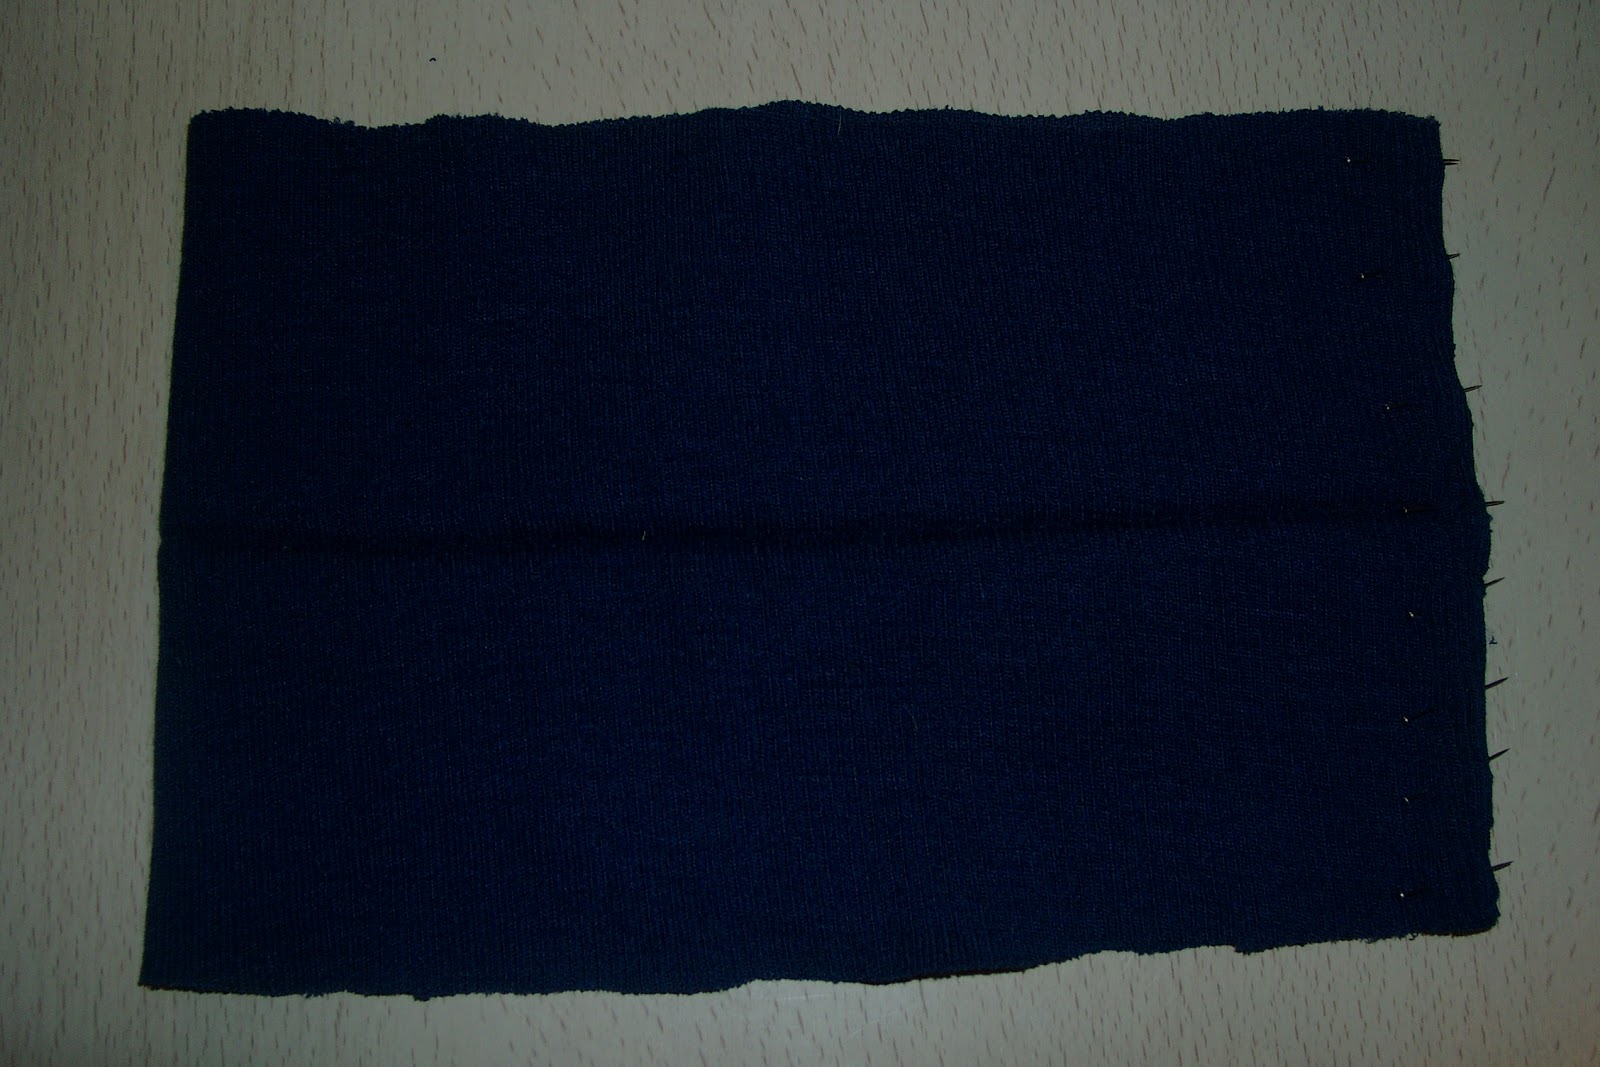
Step 4.
Cut out the waistband.
* * *
Wytnij ściągacz.
 |
| helencraftystall.blogspot.com |
 |
| helencraftystall.blogspot.com |
Step 5.
Unfold the waistband and put right sides together. Then pin the edges and sew as seen on pic.
* * *Unfold the waistband and put right sides together. Then pin the edges and sew as seen on pic.
Rozłóż ściągacz, złóż w poprzek. Przypnij prawymi stronami do siebie i zszyj brzegi jak na zdj.
 |
| helencraftystall.blogspot.com |
 |
| helencraftystall.blogspot.com |
 |
| helencraftystall.blogspot.com |
Step 6.
Fold waistband again and pin into the pants. Then stich. And turn on the right side.
* * *Fold waistband again and pin into the pants. Then stich. And turn on the right side.
Złóż ściągacz z powrotem i przypnij do spodni. Przyszyj ściągacz i wywiń na prawą stronę.
 |
| helencraftystall.blogspot.com |
 |
| helencraftystall.blogspot.com |
 |
| helencraftystall.blogspot.com |
Step 7.
Now it's time to make 2 pockets. I used a stripe from the back of blouse. Cut the stripe in 2 pieces.
* * *Now it's time to make 2 pockets. I used a stripe from the back of blouse. Cut the stripe in 2 pieces.
Teraz pora na 2 kieszenie. Użyłam do tego paska ozdabiającego tył bluzy. Przetnij pasek na 2 połowy.
 |
| helencraftystall.blogspot.com |
 |
| helencraftystall.blogspot.com |
Step 8.
Fold the edges of pockets and iron them. Topstitch each pocket and pin to the front of pants.
* * *
Złóż końce kieszeni i przyprasuj. Przeszyj górną część kieszeni i przypnij z przodu spodni.
 |
| helencraftystall.blogspot.com |
 |
| helencraftystall.blogspot.com |
 |
| helencraftystall.blogspot.com |
 |
| helencraftystall.blogspot.com |
 |
| helencraftystall.blogspot.com |
Step 9.
Stitch the pockets. Sew close to the edges.
* * *
Przyszyj kieszenie. Szyj blisko krawędzi.
 |
| helencraftystall.blogspot.com |
And that's it. Pants are ready :-) Simple, isn't it?
* * *
I to tyle. Spodnie są już gotowe :-) Proste, prawda?
 |
| helencraftystall.blogspot.com |
Happy sewing, see you!
Agata
[THIS PATTERN IS A HOME-USE ONLY, NOT FOR COMMERCIAL]
Brak komentarzy:
Prześlij komentarz
Co o tym myślicie?
Podzielcie się ze mną :-)